Your completed work needs to be posted to the web server through your course account. If you developed the files on your own computer (or a lab computer running MacOS or Windows), this will involve transferring files from their original location across the network to the science center's Linux system. You will do this using a secure file transfer protocol (SFTP), not to be confused with the older file transfer protocol (FTP) which is insecure and thus not accepted by the Smith server.
There are a number of free programs, called file transfer clients, that will allow you to do move your files. On Windows I like to use WinSCP. On MacOS I used to recommend Fugu. This document will demonstrate the process using CyberDuck, which can be downloaded for both platforms.
Before you start, you will need a few things:
- The account id (e.g., something like cs105a-xx) and password handed out in class
- Your chosen file transfer client (e.g., CyberDuck) downloaded and installed on the computer you wish to trasfer files from
- If you wish to transfer files from anywhere not physically on the Smith campus network, you will need to install and use VPN software. ITS provides information about this topic on their help pages.
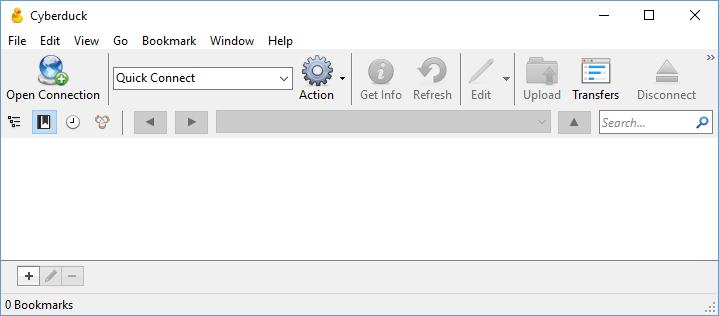
When you first start CyberDuck, you will see a mostly empty window. Click on Open Connection to get started.
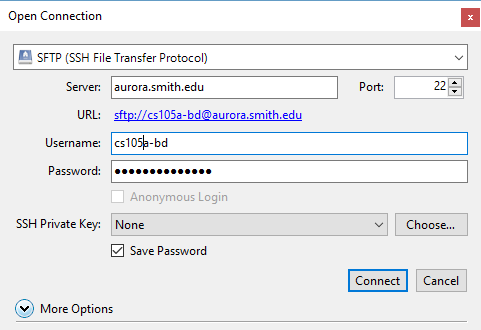
This will bring up a new dialog where you will enter the connection information. Make sure that the menu selector at the top is set to SFTP -- it defaults to ordinary FTP, which will not work. Enter aurora.smith.edu for the server, and the username and password corresponding to your course account. (Note that this is not your usual campus network id/email account, but the account given to you specifically for this course.)
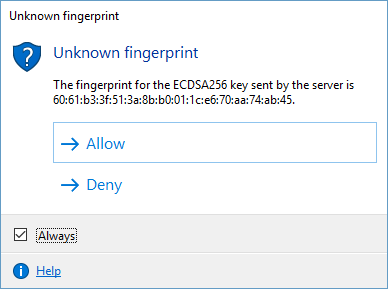
After hitting Connect you will most likely see a message warning that the server you are connecting to has an unknown fingerprint. This just means that your computer cannot automatically verify its identity for you. You can click Allow.
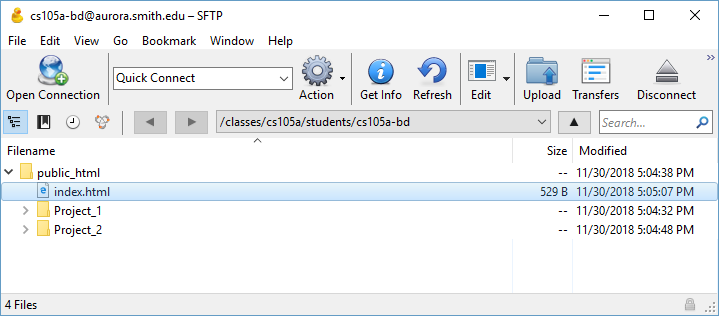
Assuming that everything has gone correctly, you should now see in the CyberDuck window a view of the files and folders stored on the server under your course account. The first time you connect there will be just one folder, called public_html. All your files must go in this folder in order to be visible on the web. You can drag files here from elsewhere on your computer. The image shows how the account might look after you have copied a file and set up some folders.
Using the program, you can make changes to the files on the server: renaming and deleting files, for example. You can also change the file permissions by right-clicking and choosing Info from the context menu and then selecting the Permissions tab. If you accidentally put a file in the wrong place, you can drag things around or just put a new copy in the correct place and delete the old copy. Try to keep your files clearly named and neatly organized; it will help you to avoid confusion about which file is which. In particular, it is usually a bad idea to keep older versions of a file around, unless they are in a folder specifically labeled as an outdated or backup copy.